Classic car paint restoration is one of the most transformative services we offer at Fresh Paint Auto Restoration & Repair in Houston, TX. Whether you’re bringing a 1967 Mustang Fastback back to factory spec or customizing a 1955 Chevy Bel Air with a period-correct lacquer finish, the process demands as much patience as it does skill. In this guide, we walk through every stage — from bare metal prep to final buffing — so you know exactly what goes into returning your classic to showroom condition.
Why Classic Car Paint Restoration Is Different from Modern Refinishing
Modern vehicles leave the factory with multi-stage polyurethane basecoat/clearcoat systems applied by robot arms in temperature-controlled booths. Classic American cars from the 1940s through the 1970s used single-stage nitrocellulose lacquer or alkyd enamel — chemistries that behave very differently under heat, humidity, and time.
Applying modern urethane over original lacquer without proper prep can cause delamination within months. And stripping a correct original single-stage finish when solid paint is still present destroys irreplaceable authenticity. Knowing which system is on the car — and what it needs — is where restoration experience matters most.
Original Lacquer vs. Modern Urethane: Which Is Right for Your Car?
- Single-stage lacquer — Period-correct for pre-1970 American cars. Easier to repair spot-by-spot, re-buffs beautifully, but thinner and softer than modern coatings. Requires more frequent maintenance.
- Modern urethane (basecoat/clearcoat) — Superior durability and UV resistance. Better for show cars driven regularly in Houston’s intense summer sun. Requires full prep and primer isolation when going over older substrates.
- Hybrid approach — Some clients prefer urethane for durability with a lacquer-look color match. We tint and spray accordingly.
Stage 1: Disassembly and Bare Metal Assessment
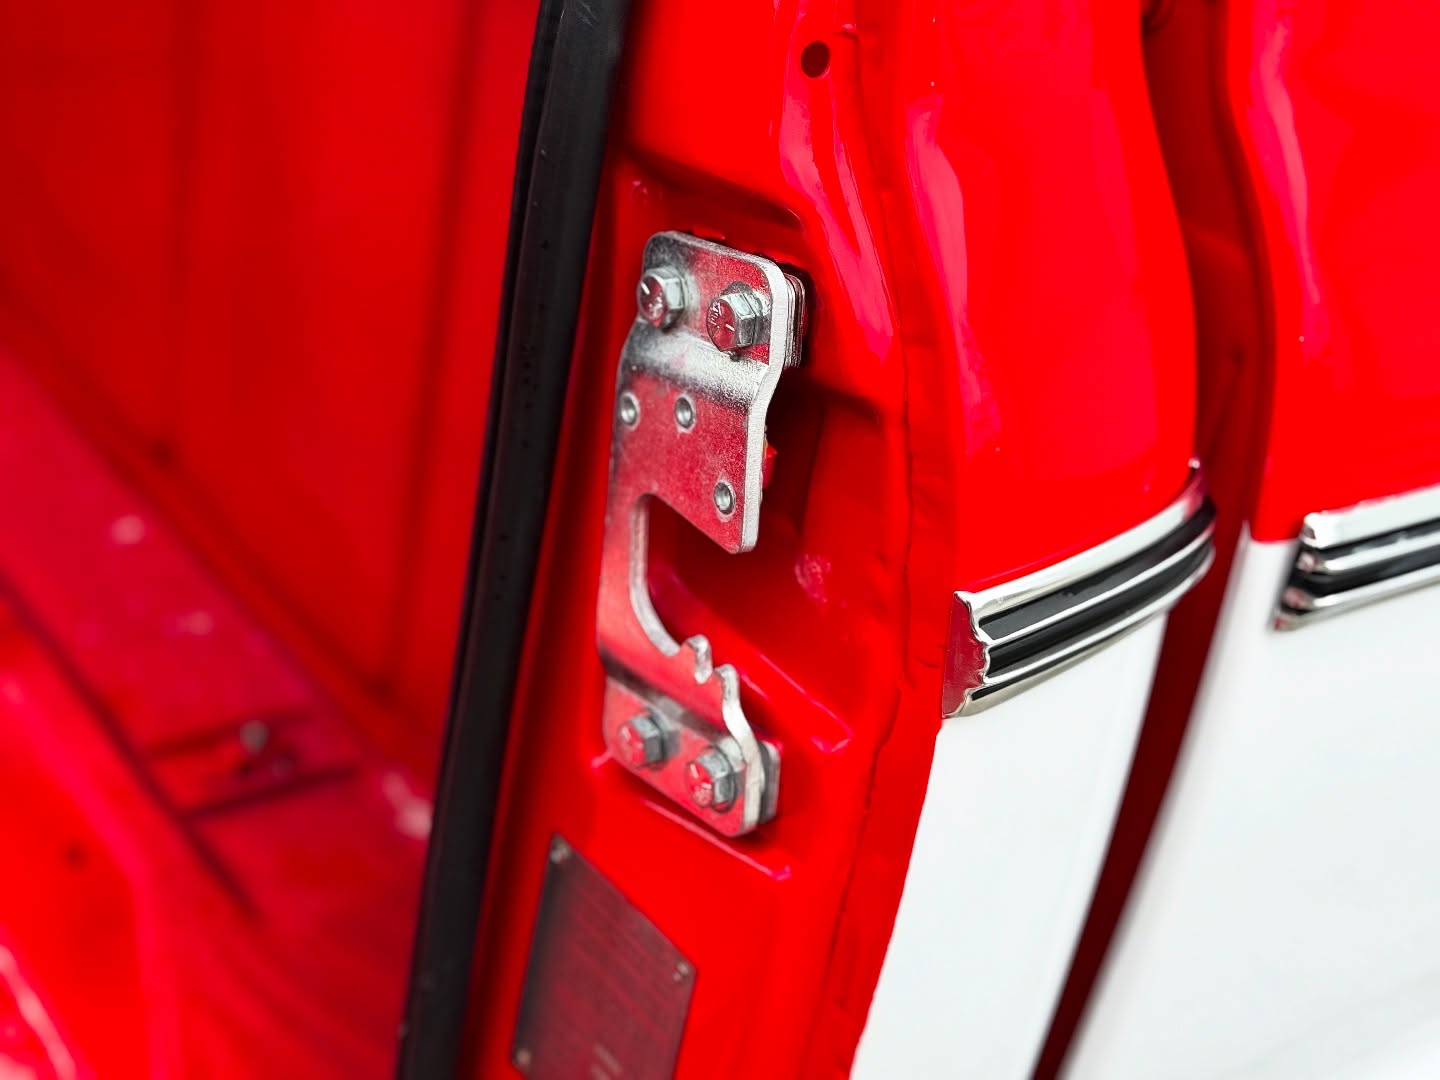
Every serious paint restoration starts with disassembly. We pull trim, glass, door handles, emblems, bumpers, and any chrome that could be masked but is better removed. Working around components wastes time, produces uneven panel gaps, and risks overspray on chrome that costs far more to re-plate than to protect.
Once stripped, we assess the body under good lighting — natural light plus overhead fluorescents at low angle. This is where dents, previous body filler repairs, rust bubbles under paint, and surface pitting all reveal themselves. We document everything with photographs before a single grinder touches the metal.
Stage 2: Metal Repair, Rust Removal, and Body Filler
Rust is the enemy of every classic car in Houston. Our humidity and heat cycle accelerate corrosion faster than most of the country. We address rust in one of three ways depending on severity:
- Surface rust — Sanded to bare metal, treated with phosphoric acid converter, primed immediately. No filler.
- Pitting rust — Ground back to clean metal, welded or skim-coated with polyester filler, blocked flat.
- Panel rust-through — Patch panels cut and welded in, or full panel replacement if perforation is extensive. We always prefer to preserve original metal where structurally sound.
Body filler (Bondo and its equivalents) gets a bad reputation when applied over rust or in excessive thickness. Used correctly — no thicker than 1/4 inch over clean, sound metal — modern polyester fillers are perfectly appropriate for concours-quality paint work.
“The paint is only as good as what’s under it. Spend twice as long on prep and the paint applies itself.”
— Fresh Paint Auto Restoration, Houston TX
Stage 3: Blocking, Guidecoat, and Surface Perfection
After metal repair and filler work, we apply a high-build epoxy primer and block-sand the entire body. Blocking is the process of hand-sanding with long, flat sanding blocks to reveal highs and lows invisible to the eye. A contrasting guidecoat — typically a dark aerosol misted over the primer — shows exactly where material needs to be removed and where low spots remain.
This stage can take as many hours as the paint itself. On a frame-off restoration, blocking an entire body to within a few thousandths of an inch across panels is where the panel gaps and bodylines that define a great restoration come from. You cannot rush blocking.
Stage 4: Color Matching and Primer Sealing
For period-correct restorations, we source original OEM color codes from factory documentation or the door jamb data plate. Colors like 1969 Chevrolet Fathom Green (code 43), 1970 Dodge Plum Crazy (code FC7), or 1967 Ford Wimbledon White (code M) have specific tint formulas that aged differently depending on the base chemistry used at the time.
We mix custom batches using both computerized spectrophotometer matching and traditional visual adjustment under standardized D65 daylight lighting. No two painters see metamerism (the color shift phenomenon under different lights) the same way — building a reference spray-out card and comparing it under natural Texas noon sun is non-negotiable before we shoot the car.
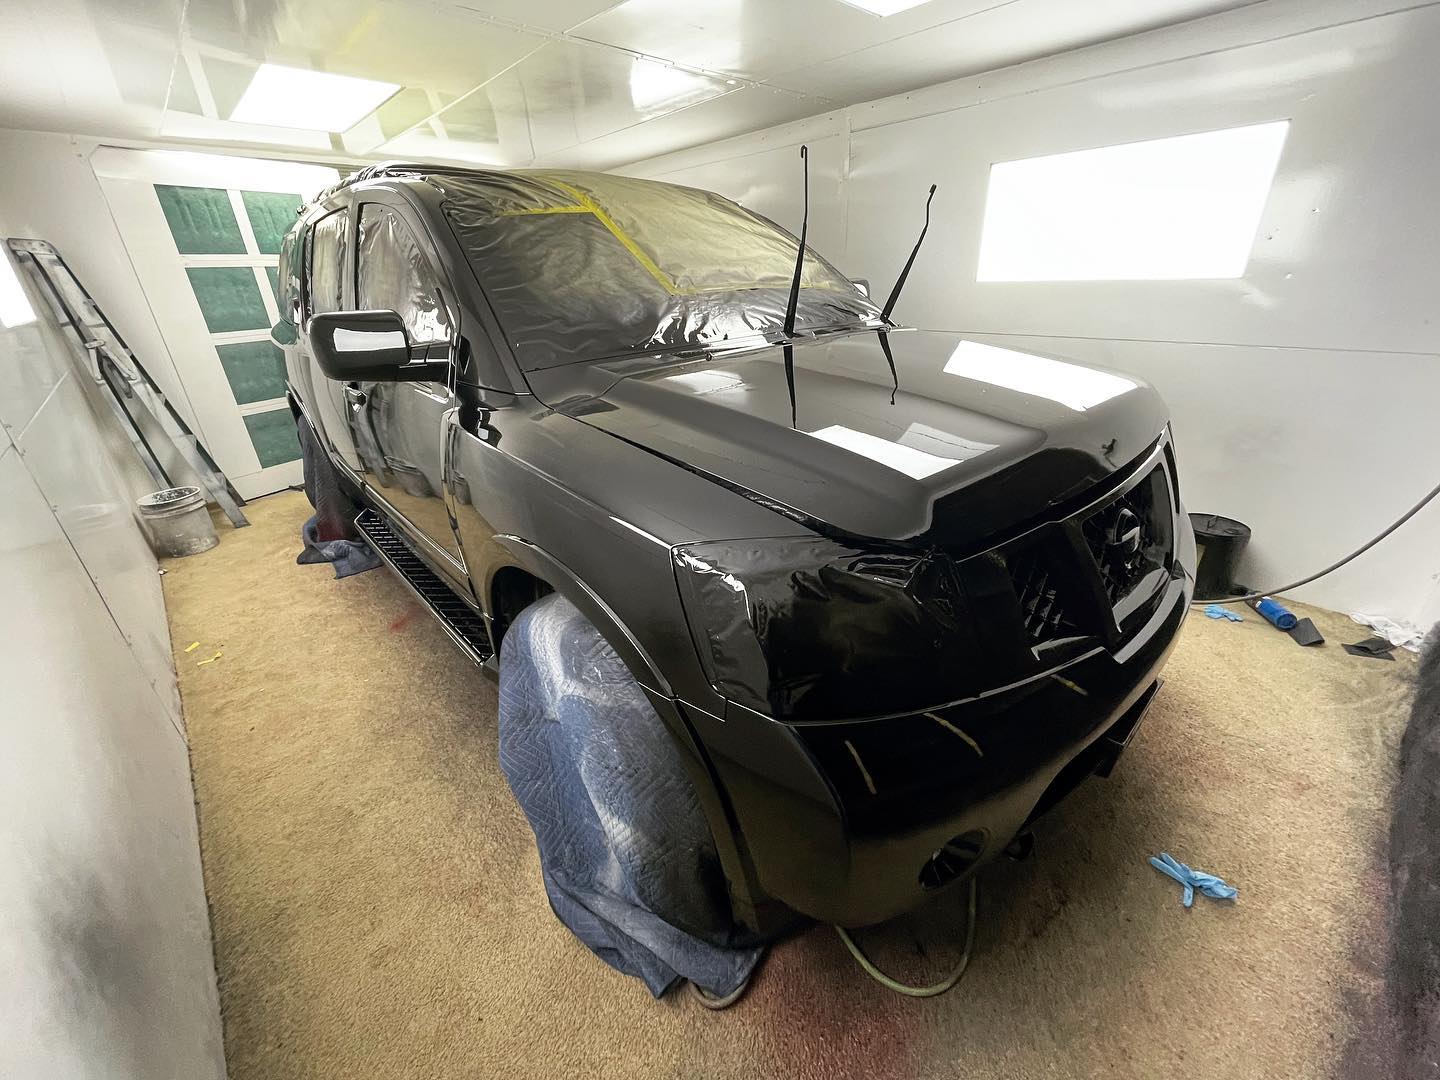
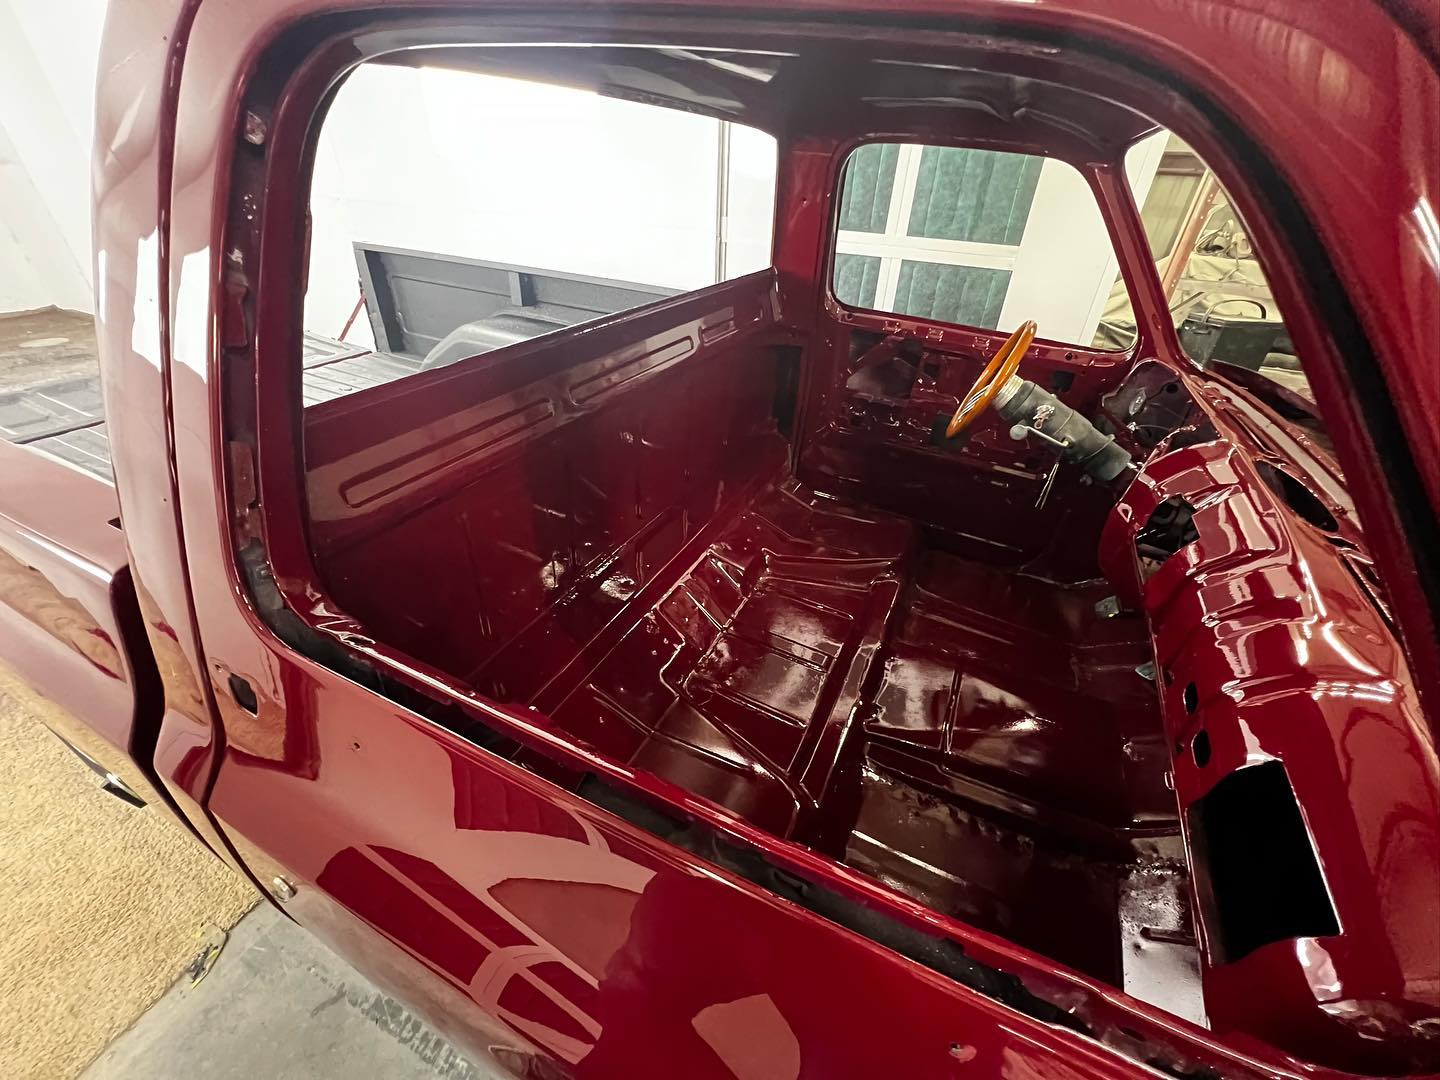
Stage 5: Paint Application
With the car sealed in a fresh urethane primer sealer, we wet-sand to 600 grit and blow off all dust. Paint is applied in a climate-controlled booth — temperature between 65°F and 75°F, humidity below 60%. Houston summers make booth climate control mandatory, not optional.
For lacquer work, we apply multiple thin coats (typically 6–8 on a full restoration), allowing flash time between each. For urethane, we apply 2–3 coats of basecoat followed by 3–4 coats of clearcoat with proper intercoat flash. Each layer is inspected for runs, fish-eyes, and dirt nibs before the next coat goes on.
Common Paint Defects We Prevent
- Fish-eyes — Caused by silicone contamination. Prevented with fish-eye eliminator additive and strict surface cleaning protocols.
- Runs — Too much material, too close, too cool. Prevented by proper gun settings and booth temperature control.
- Solvent popping — Trapped solvents releasing through partially cured paint. Prevented by adequate flash time between coats.
- Dirt nibs — Airborne particles settling in wet paint. Prevented by fully enclosing the booth and wearing appropriate paint suits.
Stage 6: Wet Sanding and Color Sanding
After full cure (typically 5–7 days for urethane, longer for lacquer in high humidity), we color-sand the entire car wet using 800, 1000, 1500, and 2000 grit in sequence. This removes orange peel — the textured appearance of un-sanded spray paint that looks like the skin of a citrus fruit — and creates the mirror-flat base needed for polishing.
Stage 7: Compound, Polish, and Final Wax
Color sanding leaves fine scratches that need to be removed in stages. We use a rotary polisher with a cutting compound to remove the 2000-grit scratches, then a dual-action polisher with a finishing polish to remove the compound swirls, then a final machine glaze or hand wax for depth and protection.
For show cars, this polishing process alone takes 12–20 hours. The result — a finish you can see your reflection in without distortion — is the payoff for everything that came before it.
Frequently Asked Questions About Classic Car Paint Restoration in Houston
How long does a full classic car paint restoration take?
A complete frame-off paint restoration — disassembly through final polish — typically takes 3 to 6 months depending on the condition of the metal and the complexity of the color. A partial restoration (paint-only on an already-prepared car) can be completed in 4–6 weeks.
How much does classic car paint restoration cost in Houston?
Prices vary significantly based on paint system, number of panels, extent of body repair needed, and whether disassembly is included. Entry-level single-stage restorations start around $4,000–$6,000 for a solid-body car. Full concours-quality frame-off paint and body work runs $15,000–$30,000+. We provide detailed written estimates after inspection — contact us for a free consultation.
Can you match the original factory color exactly?
Yes — for most American classics from the 1940s through 1970s, factory color codes are documented and we can mix period-correct formulas. Some rare regional colors or limited-production shades require additional research, but we have access to paint chip archives and OEM formula databases going back to the 1940s.
Should I preserve original paint or do a full respray?
This depends on your goals. Numbers-matching cars with intact original paint have greater authenticity value — and untouched original paint can often be brought back significantly with professional polishing alone. If you’re building a show car or daily driver, a quality full respray will look better and protect the metal longer. We discuss both options honestly at the consultation stage.
Ready to Restore Your Classic?
Fresh Paint Auto Restoration & Repair is located at 4329 Banner Dr, Houston, TX 77013. We specialize in American classics from the 1940s through the 1970s — paint, body, chassis, interior, and full ground-up restorations. Every project gets the same meticulous attention whether it’s a single panel repair or a complete rotisserie restoration.
Browse our restoration portfolio, explore our paint restoration service, or contact us directly to discuss your project. We provide free consultations and written estimates — no obligation.